Control Flow in JS
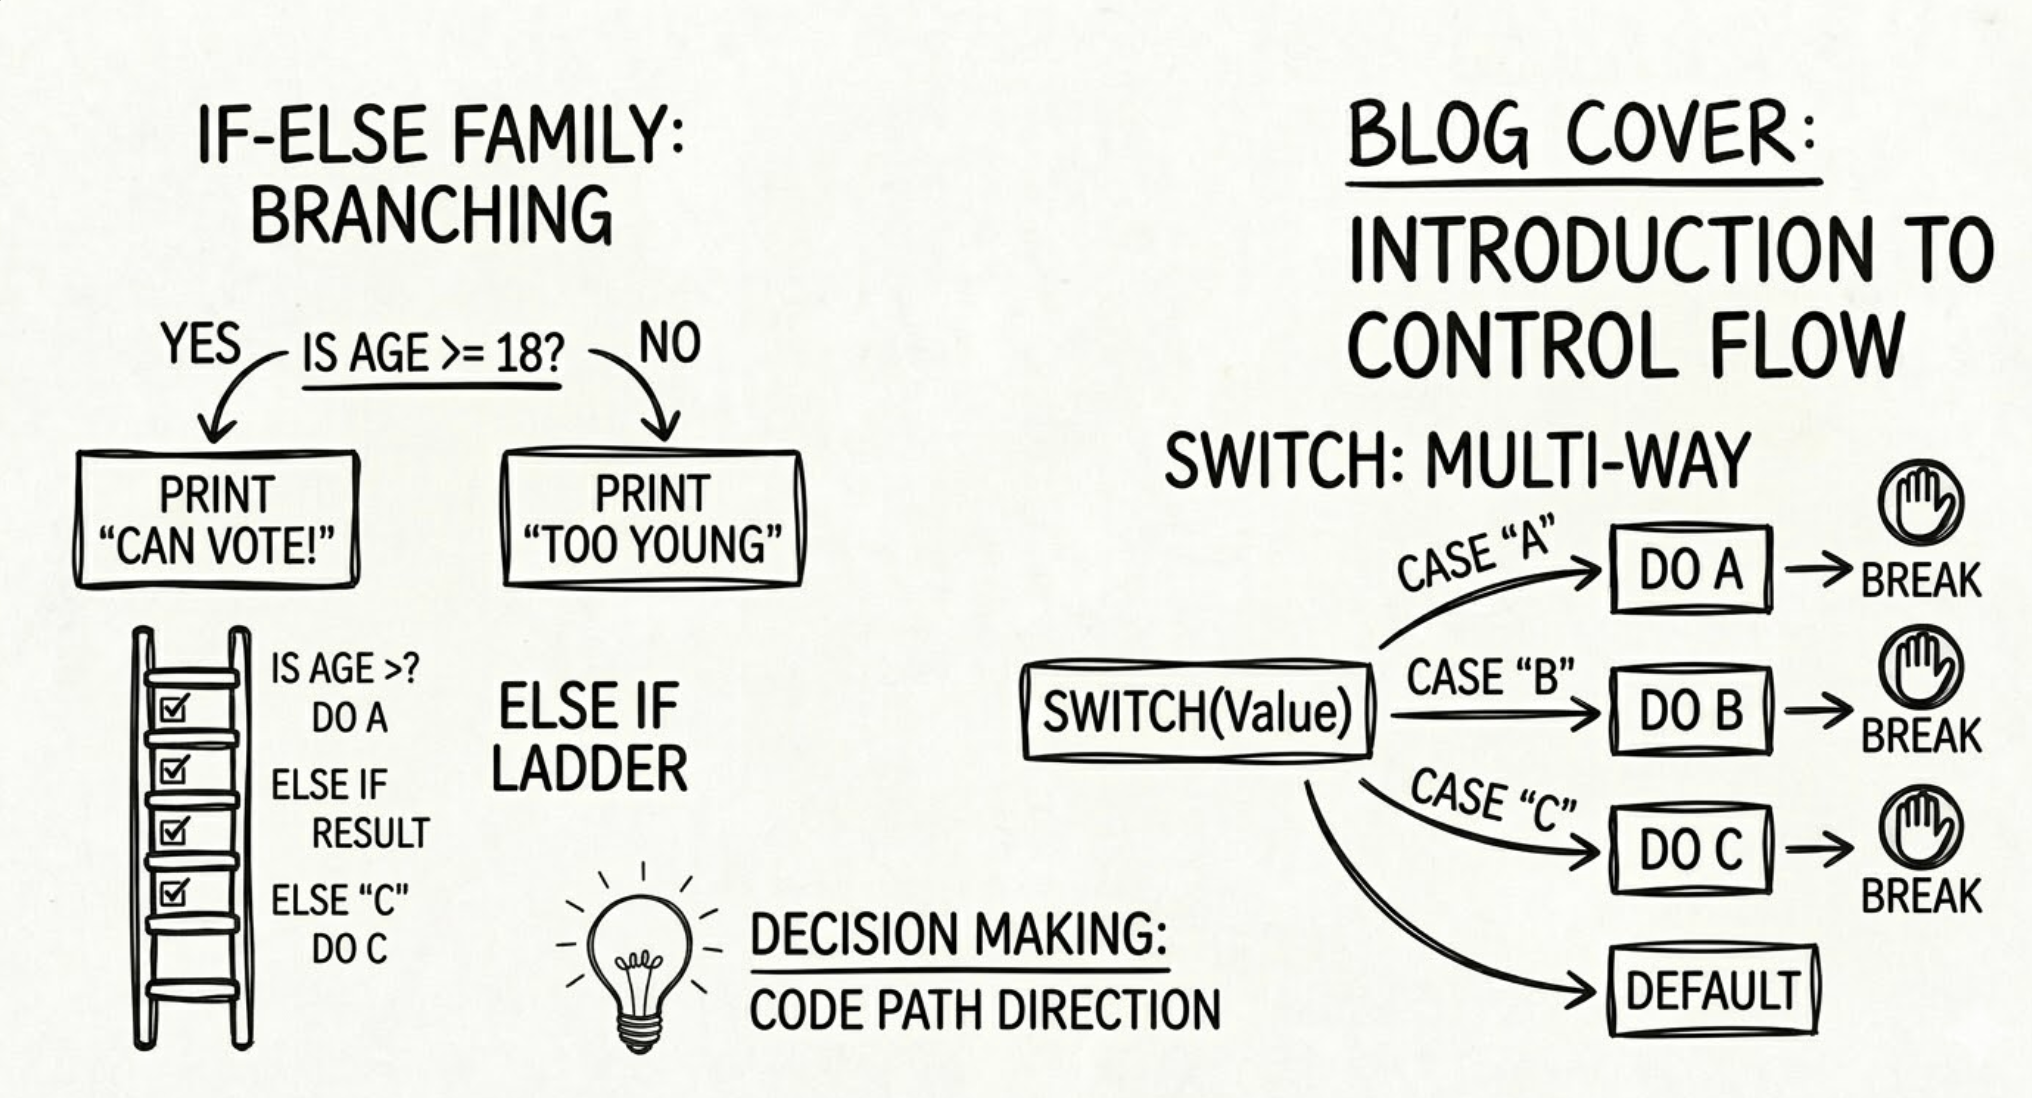
If you are coming from a programming language other than JS then the blog would be really beginner level for you, but if you are someone who has just got his hands dirty in the coding journey, this would be a fun and important concept.
Every thing is made of small particles called as atoms, this is true for a software as well, all the code in the application is made up of control flow. Control flow is nothing but a simple decision making job which decides what operation needs to be performed and what operation could be skipped.
It is similar to when you have a lot of options that you could do, like reading this blog, or scrolling through instagram, and you decide to do some mindless scrolling 😭. (Just kidding). So you make a decision either this or that from the two.
In this blog, we would be understanding how we could do the same thing (making decision) in JS.
If Statement
The If statement does what it sounds link, i.e. If something then only do something.
const isFun = true;

if(isFun){
  console.log("JS is fun")
}

if (isFun) console.log("JS is fun without braces")
The if statement executes the code inside it only when the condition inside the parenthesis after the if keyword is true .
If there is only a single line that needs to be executed when the if is successful, then in that case you can avoid using the braces and if does it job, however it decreases readability and if you are my coding partner, then we wont be doing that.
Else Statement
The counterpart of the If statement is the else statement, whose job is to execute things when if fails the conditions.
const age = 16;

if(age>=18){
  console.log("Eligible to vote");
} else {
  console.log("Not eligible to vote yet");
}
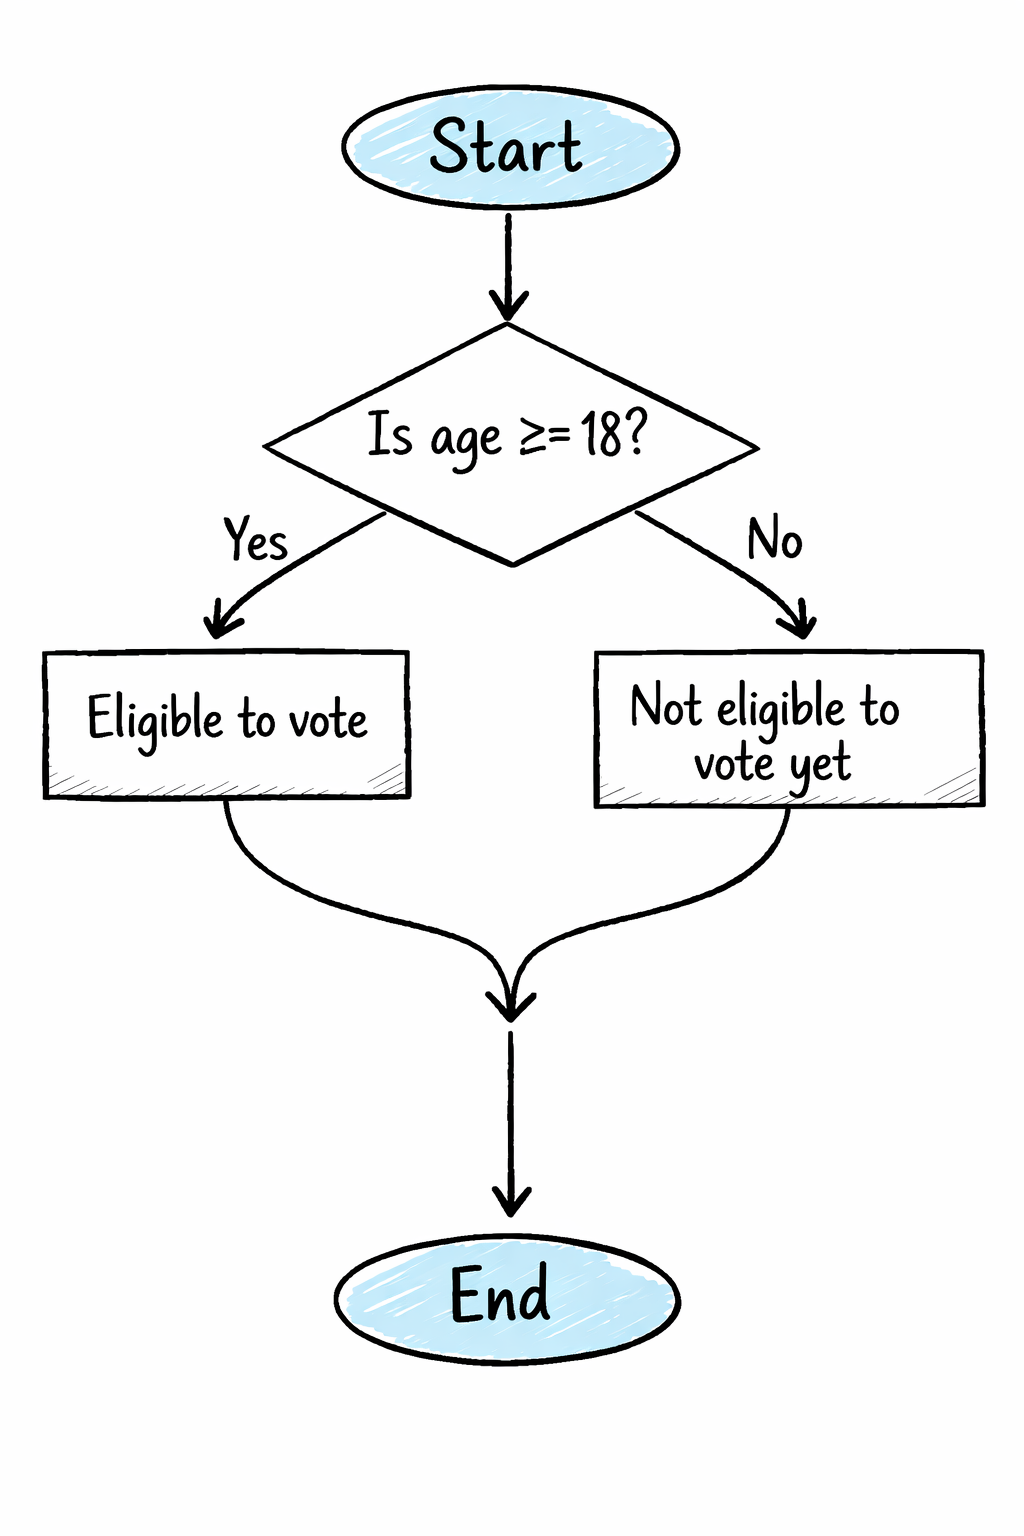
You can have an else statement only when you have if used earlier.
If-else Statement
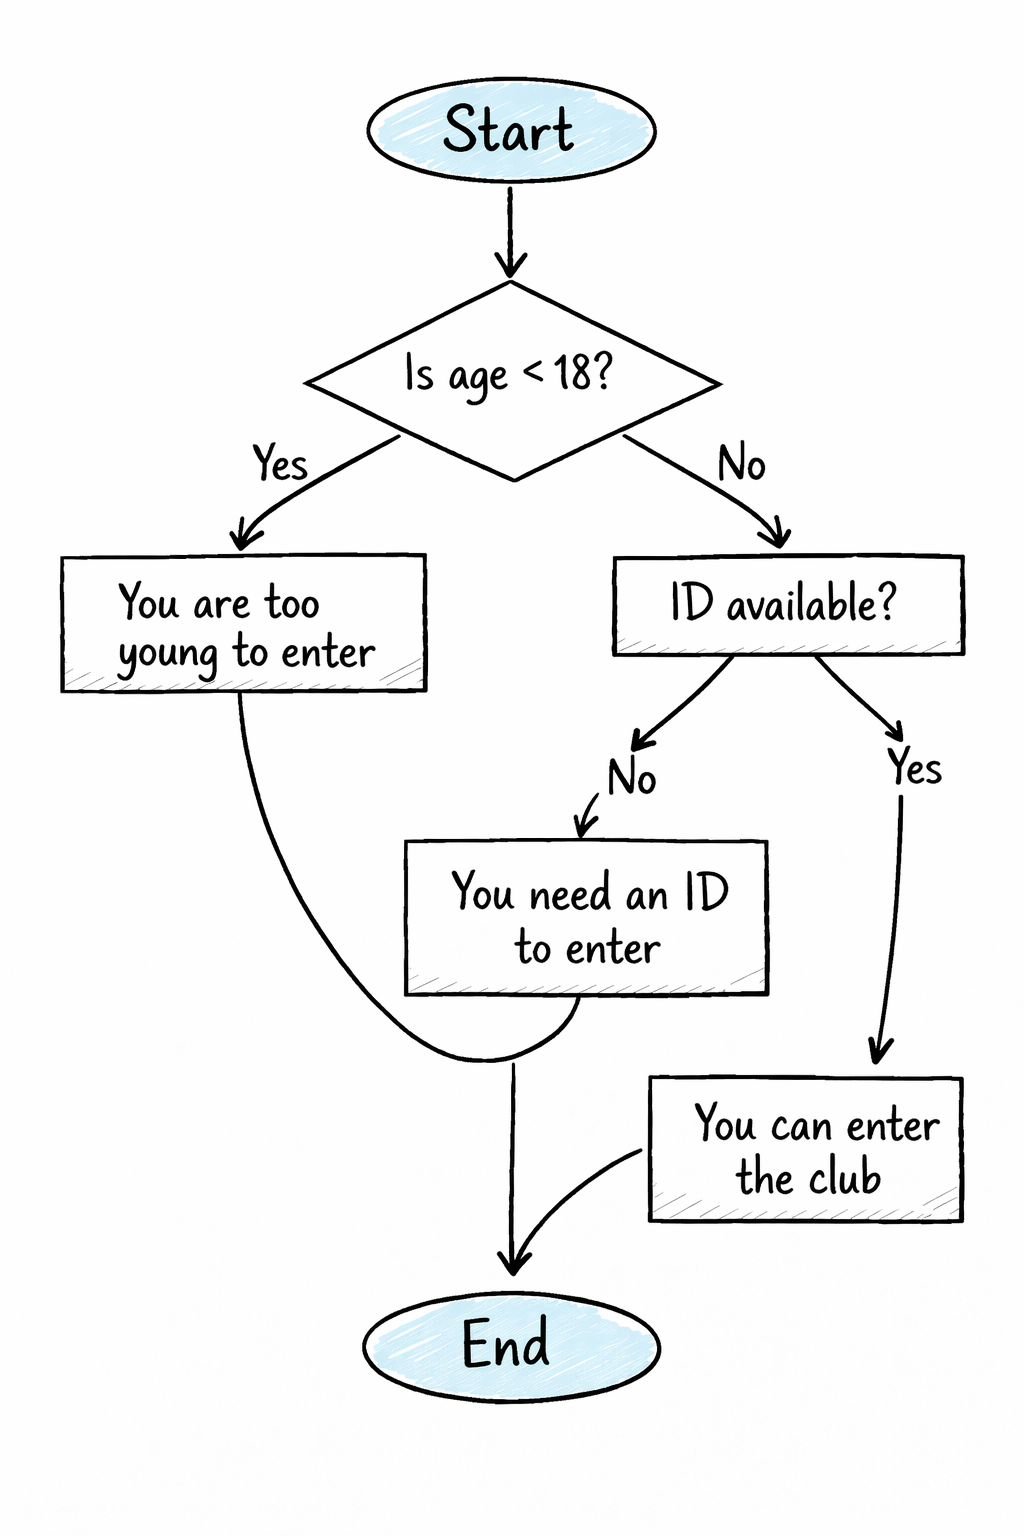
There are times when you could have more than two conditions that need to be handled. One way to do that is through nested checks, Example below:
let age = 20;
let hasID = true;

if (age >= 18) {
    if (hasID) {
        console.log("You can enter the club");
    } else {
        console.log("You need an ID to enter");
    }
} else {
    console.log("You are too young to enter");
}
Looking at the above example you might think it to be simple, but when the logic has more factors on which it depends, you can be in a nested hell which would decrease readability by a lot, so it is often considered a good practice to use if else-if style of control flow.
let age = 20;
let hasID = true;

if (age < 18) {
    console.log("You are too young to enter");
}
else if (age >= 18 && !hasID) {
    console.log("You need an ID to enter");
}
else {
    console.log("You can enter the club");
}
Switch Statement
The switch statement is used to choose one block of code from multiple possible options based on the value of a variable or expression. You can say it to be a cleaner alternative to many if ... else if conditions where you are simply checking one value against several cases.
let day = 2;

switch (day) {
  case 1:
    console.log("Monday");
    break;

  case 2:
    console.log("Tuesday");
    break;

  case 3:
    console.log("Wednesday");
    break;

  default:
    console.log("Invalid day");
}
How Switch Works:
The value of
dayis checked.JavaScript compares it with each
case.When a match is found, that block runs.
breakstops the switch from checking further cases.defaultruns if no case matches.
Without break, execution falls through to the next case.
switch (1) {
  case 1:
    console.log("One");
  case 2:
    console.log("Two");
}

//output:
//One
//Two
When to use what ?
Introducing if..else if and switch statements might seem confusing to a few, because both seem as a good option but it depends on the type of condition you are checking
Use switch when checking one variable against many fixed values
use if-else if when conditions are complex i.e. involves range, or multiple variables involved.
Common Mistakes while using Switch (Bonus)
This blog was to introduce you to the control flow in JS, but when I started using them, even I used to do some common mistakes such as:
- Forgetting
break(Fall-through problem): If you don't use break, execution continues into the next case.
let x = 1;

switch (x) {
  case 1:
    console.log("One");
  case 2:
    console.log("Two");
    break;
}

//Output:
//One
//Two
- Comparing different types : switch uses strict equality(===), means types must match.
let x = "1";

switch (x) {
  case 1:
    console.log("Number 1");
    break;

  case "1":
    console.log("String 1");
}

//Output
//String 1
- sometimes we want that for multiple conditions similar thing to be done, in such a case, I used to repeat the same code block for different cases.
switch (day) {
  case "Saturday":
    console.log("Weekend");
    break;

  case "Sunday":
    console.log("Weekend");
    break;
}
We can use the concept of fallback and avoid code repetition:
switch (day) {
  case "Saturday":
  case "Sunday":
    console.log("Weekend");
    break;
}


